Showing posts with label SWEET. Show all posts

Thursday, 15 August 2013

A new signature dish? Flourless chocolate cake

I'll outline the background to this particular recipe when I fill you in on the latest dinner party club menu... however, having decided that I was on dessert, I turned to a recipe that I have gazed at many many times, but wondered if I would really like.  It is a cross between a chocolate cake and a baked cheesecake from one of Julie Le Clerc's books, and was met with resounding acclaim and requests that I had better blog it IMMEDIATELY!

The other good thing about this recipe is that it is just so easy to make - I had spent the day racing round, fitting in brunch with our cousins from Westport and squeezing in some gardening, and I had never tried the recipe before (potential recipe for disaster).  But no, get all the ingredients out, turn on the oven and off you go...

Flourless chocolate cake
Serves 12

Preheat the oven to 150C (fanbake).  Grease a 22cm springform cake tin and line the base and sides with baking paper.

Vanilla cream
250g cream cheese, softened to room temperature (DON'T for a MOMENT think about using "lite" or reduced fat cream cheese)
2/3 C sugar
1 large egg
1/2 tsp Heilala vanilla paste

Beat together the cream cheese and sugar until smooth. Add egg and vanilla and beat for another minute until it is combined.  Set aside.

Chocolate batter
150g butter, roughly chopped
300g quality dark chocolate (70% cocoa solids), roughly chopped

Place in a medium size bowl and gently melt together.  This can be done over a small pan of simmering water (which I did) - just make sure that the water is not touching the bowl. Alternatively, zap in the microwave in 30 second bursts. Once it is mostly melted, take the bowl off the pot of water and leave to cool on the bench, stirring from time to time. You want it to be warm, but not scalding hot when you add to the eggs.

3 large eggs
1/3 C sugar
1 tbsp espresso coffee
pinch salt

Place these ingredients in a bowl and whisk together for at least 5 minutes, until they are thick and pale.  Gradually add the slightly cooled chocolate mixture, while continuing to whisk, until combined.

Pour about half the chocolate batter into the prepared pan. Then alternate dollops of the vanilla cream and the chocolate batter across the pan.  Use a medium palette knife to roughly swirl the two together and get a marbled pattern. Give the bowl a gentle shake so that the top of the cake is even, and place in the middle of the oven.

Cook for 45-50 minutes. The top should be slightly crusty, and a skewer inserted into the cake should be a little sticky, but not runny.  I preferred the cake still slightly warm - it keeps overnight in the fridge, but I would warm slightly before serving.

This leads me to another essential kitchen item, the perfect basket for transporting food.  When I bought this, I really didn't know how vital it would be - but if you find a sturdy basket that will fit your most popular baking dishes, just buy it!


Monday, 3 June 2013

Tax avoidance

So this is what tax avoidance looks like in our house…

Just so that the Inland Revenue Department doesn’t have cause for concern, this is only avoidance of the task of actually doing the tax return, not avoiding the tax in a criminal kind of a way!

Actually, this post could also be titled “Antiquing” because that’s what happened on Friday – Mrs Urban Gardener and I took to the road and headed to some of those small towns with junk shops that have a whole lot of junk and a small supply of treasure.  A previous trip ended up with a coach horn being one of my finds… seen here with a couple of other acquisitions. 

The coach horn is perfect for calling the children home when they are rampaging through the neighbourhood (they will probably grow to hate this).

But, I digress.  On Friday, I found the perfect gem iron.

For those of you who haven’t met a gem iron, the perfect gem iron is a heavy cast iron mould for making ginger gems in.  Ginger gems seem to be a particularly New Zealand treat… so I lined up a selection of recipes and made several batches (while avoiding doing the filing that needs to be completed before I can get started on the aforementioned tax).  Consumer opinion agreed that Ellen’s Gems won – Ellen was the female half of the married couple who worked on my parents’ farm when I was growing up, so here is her recipe.

Ellen’s Ginger Gems
Makes about 12 (the number of gems in a gem iron)

1 C flour
1 tsp ginger
½ tsp mixed spice
20g butter
½ C golden syrup
¼ C sugar
1 egg, lightly beaten
1 tsp baking soda
½ C milk
Crystallised ginger, finely sliced (optional)

Heat the oven to 200 C and put the gem iron in to heat up (this is essential).

Sift together the flour, ginger and mixed spice.  Dissolve the baking soda in the milk.  Melt together the butter and golden syrup and add the sugar.

Pour the syrup mix into the dry ingredients, give a stir, add the lightly beaten egg, give another stir, and add the milk.  Mix to combine (it may be a little lumpy).

Grease the hot gem iron with butter (I use a pastry brush for this), and fill the gem irons to around 2/3 full (the mix will start to caramelise around the edges).  You can gently place some finely sliced crystallised ginger on top for extra ginger-ness.  Then into the oven for 10 minutes.  Turn out and eat while still warm.  Then do your tax.

Friday, 29 March 2013

Summer Berry Tart

I made this lovely tart in early summer, when we had the first wave of raspberries at their peak – it is one of my favourite combinations – berries, lemony custard, and pastry to deliver it to your plate.  It would also work well with fresh autumn berries. 


This pudding also lends itself to all manner of shortcuts if cooking from scratch is not your thing… sweet shortcrust pastry from the freezer, a mix of custard and lemon curd, and there’s a lovely dessert that simply needs some compilation! 
 
Just remember before starting that you need to allow enough time to make the pastry, rest it, get it into the tart tin, rest it, cook it and cool it  (around 3 hours all up)… and then another couple of hours to chill the custard in the tart.

Berry Tart with Lemon Custard
Serves 8 people, approximately 27cm tart

Sweet Pastry
For best results, make this the day before and rest overnight in the fridge – if you can’t do this, make sure it rests in the fridge for at least 30 minutes before rolling out.  You can also experiment with ginger or cinnamon to add some spice to the pastry.

170g butter, just softened (not melted)
85g sugar
1 small egg, lightly beaten with a fork
1/8 tsp vanilla paste (or a few drops vanilla essence)
Zest of a lemon
260g plain flour

Using a wooden spoon, cream together the butter and sugar, then add the egg, vanilla and lemon zest.  Now add the flour and gently mix just enough to combine – it will start to stick together and come away from the sides of the bowl.  It really is important not to overmix as it will become oily and difficult to work with later.  Scoop out straight on to plastic wrap and pop into the fridge to rest.

Once rested, remove from the plastic wrap, squeeze gently to make sure it is combined (again not too much – you don’t want it to warm up), gently shape into a circle and roll out on a floured bench to about 3mm thick.  Line a loose-bottomed tart tin and refrigerate for 1 hour.

Pre-heat the oven to 180C (not fan bake).  Line the tart base with foil and fill with baking blind beads/rice etc.  Bake for 10 mins, then remove the foil and baking blind beads/rice, and bake for a further 10 mins, or until the pastry is dry, crisp and golden brown.  Remove from the oven (leave in the tart tin) and cool.

Lemony Custard
2 tbsp lemon zest (make sure there is no white pith, as this will make it taste bitter)
1 C lemon juice
1 C caster sugar
2 tsp cornflour
2 large eggs
3 large egg yolks
140g butter, chopped into smallish squares
3 tbsp olive oil (not your average mass produced one – try a rich fruity boutique grower)

Whisk together all ingredients except the butter and olive oil in a medium sized, heavy based saucepan.  Bring to the boil, whisking constantly. Boil for 2 minutes (or a bit less), whisking constantly, until it thickens up – you must keep whisking to avoid scrambled eggs, and you don’t have to rapidly boil – just enough to keep bubbling and cook the flour so that it thickens up.  Remove from the heat and whisk in the butter and olive oil until combined.  Allow to cool for 10 minutes, giving the occasional stir, and then pour into the pastry case and refrigerate til firm (I would allow 2 hours for this stage).

Fruit topping
Around 3-6 punnets of summer berries (personally, I don’t think you can have too much fruit).  My version involved strawberries, blueberries and raspberries.

If time allows, slice the strawberries in half and soak overnight in a good slosh of raspberry liqueur with a sprinkling of castor sugar.  Before serving, spoon the strawberries over the tart (gently press them into the custard) and then pile the blueberries and raspberries on top.  Drizzle the juice from the sozzled strawberries over everything and serve.


Saturday, 26 January 2013

A taste of summer

Summer is fully upon us, here in Wellington, with the forecast for 10 straight days of sunshine!  Back from a holiday filled to the brim with beaches, caves, bush and sunshine – and not forgetting a good supply of friends – it’s time to turn some photos into blog recipes. 


Peaches and raspberries are two of my favourite tastes of summer… so what better than combining them with a touch of vanilla?  Last week I tried this out on two lots of unsuspecting friends to universal approval.

Baked Peaches with Vanilla and Raspberries
Serves 4

4 large peaches, peeled and cut into quarters or halves, stone removed
1 vanilla pod, split lengthwise or ½ tsp Heilala vanilla paste
2 tbsp lemon juice
2 tbsp sugar
1 tbsp raspberry liqueur (Crème de Framboise)
2 tbsp butter, melted
1 cup fresh raspberries

The peaches should be ripe, but on the firm side.  Once peeled, place into a baking dish that will fit them in a snug single layer and toss with the lemon juice and sugar.  At this stage, you can pop them into the fridge until 30 minutes before you are ready to cook them.

Preheat the oven to around 200 degrees, and melt the butter.  Gently toss together with the peaches and raspberry liqueur.  At this stage, I try to arrange them cut side up, and then pop into the oven for 10 minutes, then turn and baste with the juices, and cook for another 10 minutes.  They should still keep their shape – if they are very ripe, you may need to drop the cooking time by a few minutes each side.

Remove from the oven and sprinkle the raspberries over the top.  Spoon into dishes, using up ALL the juices and serve with vanilla icecream.


Thursday, 2 August 2012

When small is better

Think of a very small dish of something delicious placed in front of you.  It just invites savouring, taking small bites, lingering over every mouthful. 

When I dived back into cooking this year, I revisited old recipes as I dusted off techniques and remembered the tricks I’d learnt over 20 years ago.  A classic lemon soufflé was one of the first recipes I tried, followed by chocolate, then raspberry (if I’d found some gooseberries they would have been next).  The classic way of serving a cold soufflé is to tie a paper “collar” around the soufflé dish, fill to about an inch higher than the dish, and remove the “collar” just before serving.  However, I’ve found some small glass dishes, so I thought I’d try the next soufflé on the list as a very small dish of delicious dessert.
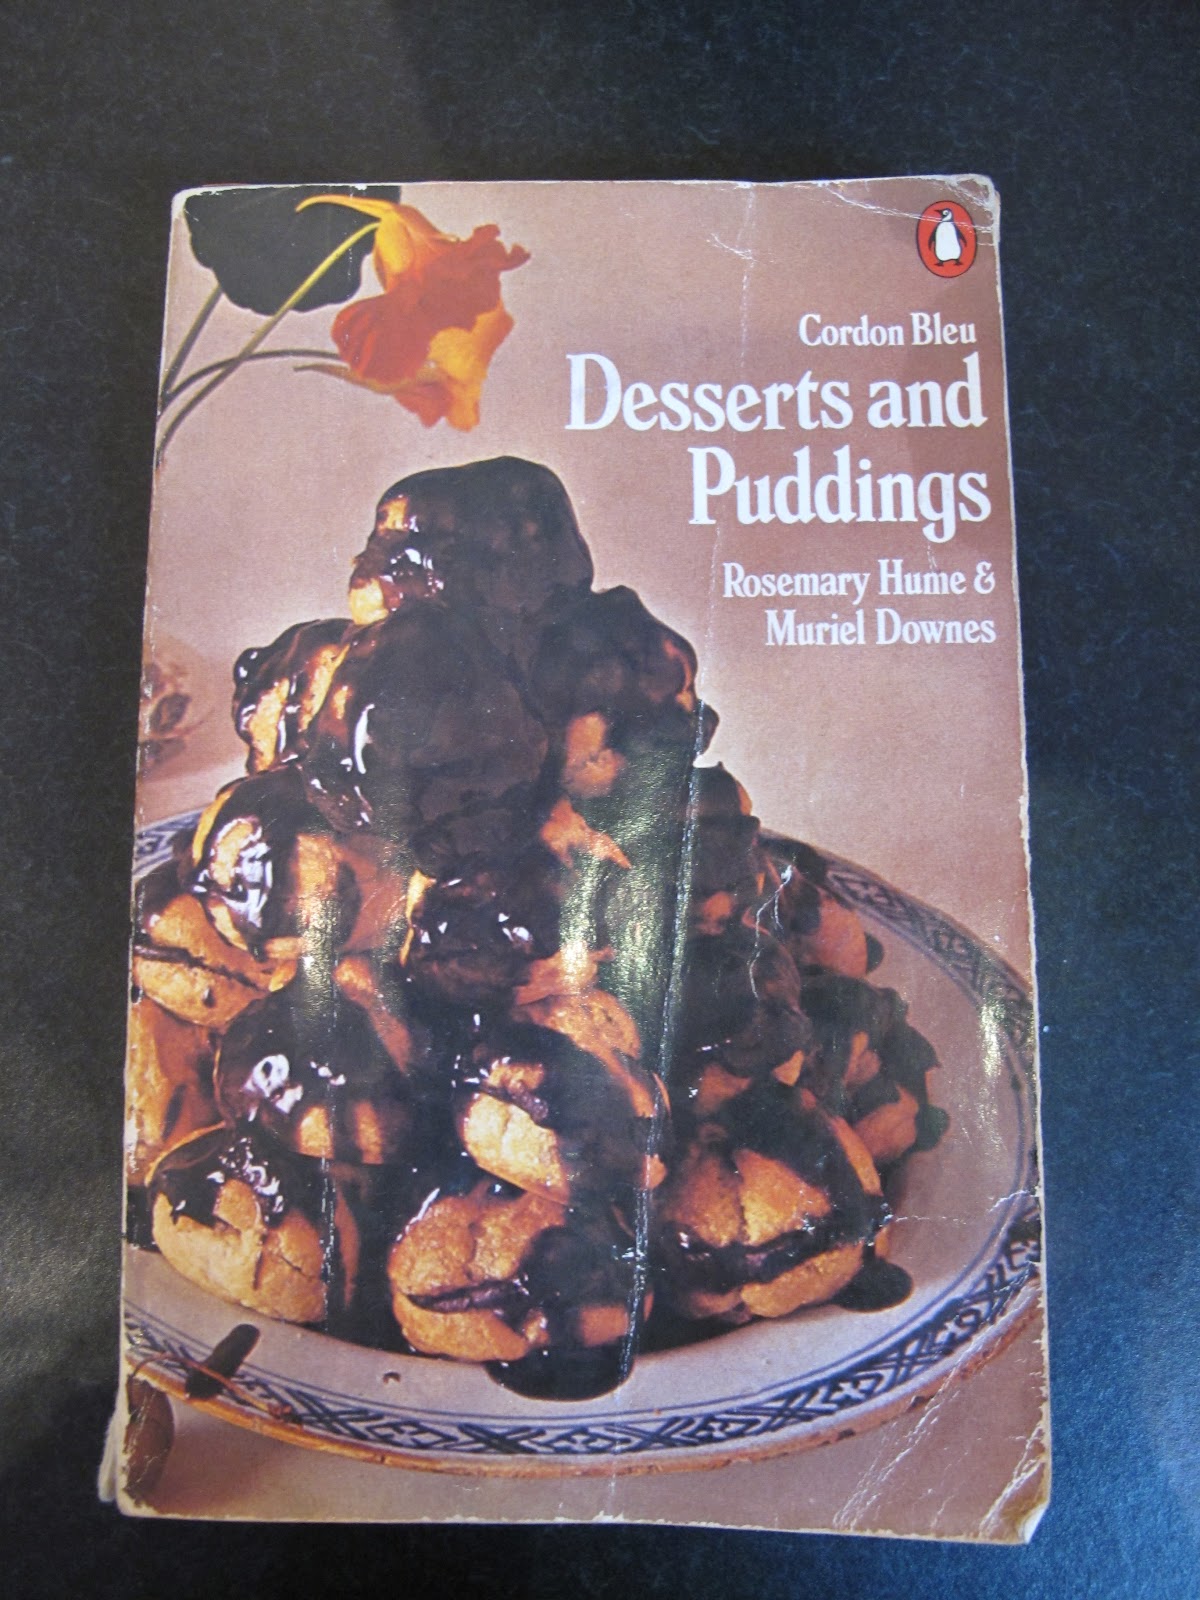
For a cold soufflé recipe, I can’t go past Cordon Bleu Desserts and Puddings – I’ve adapted their recipe here.

Cold Orange Soufflé
Serves 8-12, depending on the size of the serving bowls

3 large eggs
170g castor sugar
6 tbsp freshly squeezed orange justice
Finely grated rind of 2 oranges (make sure that you avoid the white part of the rind, as it is bitter)
300 ml cream
2 tsp powdered gelatine
Juice of 1 lemon, made up to 5 tbsp with water

Sprinkle the gelatine over the lemon/water mix and leave to swell (do this in a small heatproof dish).

Whisk* the egg yolks, sugar and orange rind at high speed until thick and mousse-like.  To really get the maximum amount of air in this step, you can do this over a pan of simmering water – but make sure that your bowl doesn’t touch the water, or you’ll end up with sweet scrambled eggs. 
Once they are lovely and thick, place the bowl on the bench, add the orange juice, and keep whisking until the bowl is cool.  The mixture will thin out quite a bit when you add the juice, but just keep on whisking!
*In case you think I’m mad, I should really say “whisk with electric handheld beater”, but you can use an actual whisk if you prefer.
Place the gelatine dish into a pot of water (the water in the pot should come about halfway up the gelatine dish), and heat gently until the spongy gelatine dissolves.  Set aside to cool for up to 5 minutes – you don’t want it to reset, but it is better to be warm, rather than hot, when you add it to the other ingredients.
Half whip the cream – so that it just holds its shape, but is not stiff – it should be the same consistency as your egg yolk mixture.  Fold together.  Gently stir the liquid gelatine mixture through the mixture.
Whisk the egg whites until they are stiff but not dry.  I use a copper bowl for whisking egg whites, as they hold more air, but an ordinary bowl will be fine.  Whatever you use, make sure both the bowl and whisk are spotlessly clean, otherwise the egg whites will refuse to whisk up nicely.  Place the bowl of soufflé mixture into a sink of ice/water (to assist with rapid cooling/setting) and mix in a good spoonful of the egg whites (this will loosen up the mixture so that you can gently fold in the remainder without losing all the air you’ve just been beating in to them).  Fold in the remaining egg whites.  Slowly stir the mixture once or twice a minute, until it is thickening.  Turn into the bowl or bowls and refrigerate until set.
You could add a blob of whipped cream and some finely chopped pistachios for a bit of colour when serving.  But it tastes great on its own, in a small dish with a small spoon.  A nice dessert wine (even if it does have a rather provocative name) will round out the evening nicely.


Sunday, 24 June 2012

A Moroccan dessert

The theme for our dinner party club this month was Moroccan.  I duly perused my recipe books and the interweb for inspiration – the hosts were promising a tagine, which left a starter, accompaniments or dessert to choose.  After considerable deliberation I made my decision and sent my email:

We will provide Khobz dyal Zraa (bread) and couscous/veges to support the tagine. Was tempted by "brides’ fingers" for dessert, but the bread won!

Only to discover that we’d been beaten to the accompaniments.  So I had to revert to “brides’ fingers”.  I turned to Claudia Roden (Arabesque) for the recipe, and the recipe below is from her, with minor adaptations.  These are like a version of baklava in small packages – only I’d never used filo and definitely had no orange blossom water in my possession.  A trip to Moore Wilson's – Wellington’s foodie store that stocks genuine orange blossom water, along with almost everything else one might need – was scheduled.


Briwat Bi Loz (Brides’ Fingers)
Makes 32

1 cup runny honey – I used a mild flavoured honey
100 ml water
75 g unsalted butter
1 ½ cups nuts – almonds or pistachios
½ cup castor sugar
2 tablespoons orange blossom water
1 teaspoon cinnamon
Filo pastry – I used 8 sheets of 40cm x 30cm filo, each sheet cut into four 10cm x 30cm strips.

First, get your filo ready according to the packet instructions – if fresh, it will need around 2 hours at room temperature before using.

Prepare the honey syrup by combining the honey and water and bringing to the boil.  Simmer for 1 minute.  Melt the butter.  Turn the oven on to 150 C.

I wanted to try both pistachio and almond versions, so I split the recipe in two – this was very easy.  Whizz the nuts in the food processor until they are a mixed consistency.  I wanted a noticeable texture in the finished product, so I didn’t whizz to a uniform powder.

Mix together the nuts, castor sugar, cinnamon and orange blossom water.  It should be a crumbly mixture that almost clumps together.

Cut the filo strips into rectangles that are 10cm wide by 30cm long, and stack into one pile.  Working fairly quickly, brush the top filo strip with melted butter, place a tablespoon of the nut mixture about 2-3cm above the end closest to you. 
Fold the bottom end of the filo over the nuts, and fold the long edges in by about 1cm, sealing the nuts in filo, then roll the package up the length of the filo. 
Place on a baking tray, seam down and cover with a damp tea towel while you do the rest.

It can be a bit fiddly to seal the nuts in, but the filo is fairly forgiving – the melted butter ensures that everything sticks together.  You could split the pile of filo in two and keep one pile under a damp tea towel to ensure that it doesn’t dry out – by the last 10 of my packages the edges of the filo had started to dry out and were prone to tearing as I separated them.

Once all the nut mixture has been used up, brush a little melted butter over the top of all the packages and pop into the oven at 150 C for 30 minutes.  They should be a pale golden colour when they are cooked – and the nut mixture will have caramelised into a delicious, aromatic and slightly chewy consistency.

Cool for 5 minutes, then dip each package in the syrup and place onto a serving platter.
Reheat in a warm oven for 10 minutes before serving, with more honey syrup poured over. 

We served accompanied with whipped cream and Clevedon Valley Buffalo yoghurt, both with Heilala Vanilla Paste added.  The yoghurt mix won the popular vote.  This is definitely a Dinner Party Club recipe that I will be making again – although I may make them in a bigger size to speed up the preparation a bit.
The Pegasus Bay Aria wine was a perfect match.

Monday, 18 June 2012

A signature dish

You know you have a signature dish, when people track you down from the furthest reaches of the globe when they need a special recipe.  Here's what popped up on my facebook page a couple of weeks ago:

“Foodthattastesgreat”, be a darling and please pass on the finer details of your delicious apple crumble. Having a dinner party tomorrow, gonna be cold and wet so plan open fire, red wine, slow roasted pork belly with crackling followed by your apple crumble with icecream.  
Thanks 
Ben [Old friend and flatmate]

I love to share recipes, so it was no problem to oblige, and the recipe made its way from Wellington, New Zealand to Cape Town, South Africa though the wonders of the interweb.  I understand that there were no leftovers.

Apple crumble
The crumble mixture is enough for 2 crumbles.  8 apples will feed 4-6 people.  This recipe can expand/contract to feed a few or feed an army!

1 cup soft brown sugar
1 cup white sugar
1 cup self raising flour
125g butter
8 apples (plus anything else you like with them – rhubarb, berries, etc)

Whizz all ingredients except the apples together until they look like fine crumbs.
Peel, core and slice the apples, cook with enough water to cover bottom of saucepan and a good sprinkling of sugar. Put apples in baking dish (add blackberries etc if desired).
You can do all this the day before, or well before the guests arrive. The trick is to then heat the apples through in a 180 C oven for 10mins or so, then add a thick layer of crumble, and cook for another 10-20 mins, but keep an eye on it so the top doesn't burn.  The crumble will caramelise and is almost biscuit-like.
All that's left to do now, is add some ice-cream, cream or custard, and it's ready to eat.
Leftover crumble mixture freezes well – so pop it into a bag, and it’s ready to provide instant fruit crumble when you need it.