Sunday, 12 August 2012

Dinner Party Club Degustation Menu

A while ago, I introduced you to the founders of the dinner party club – the Urban Gardeners.  The other members include the Visitors from Hawkes Bay, the Creative Cooks, and the Bean Counters (Mr Sporting Bean Counter and Mrs Shopping Bean Counter).  MOTH has been talking for a long time about having a Degustation Menu as a theme, so we sent out a menu that went like this: amuse bouche, vegetable, soup, fish, salad, fowl, palate cleanser, meat, fruit, dessert.

This is what it looked like…

Course 1
Amuse Bouche: Salmon tartare, with crème fraiche in a poppy seed tuile
Wine: Dibon Cava Brut Reserve or Framingham F-Series Viognier 2010 (Marlborough)
By: Mr Visitor from Hawkes Bay


Course 2
Vegetable: “Toad in the Hole” – kumara poached in stock and saffron, with beetroot centre on jus reduction
Wine: Church Road 2009 Cabernet Merlot
By: The Creative Cooks

Course 3
Soup: Iced plum tomato soup with mozzarella and basil oil
Wine: Casco de la Cruz Pedro Ximenez Sherry
By: Your Friendly Blogger and the MOTH

Course 4
Fish: Poached salmon with beetroot relish and basil mayonnaise
Wine: Lawsons Dry Hills 2008 Riesling
By: The Urban Gardeners

Course 5
Salad: Roasted artichoke and pea salad
Wine: Esk Valley Hawkes Bay Pinot Gris 2010
By: The Bean Counters

Course 6
Fowl: Herbed chicken on rocket
Wine: Peter Yealands Pinot Gris 2011
By: Mrs Visitor from Hawkes Bay

Course 7
Palate Cleanser: Raspberry and pinot noir sorbet
Wine: Matahiwi Wairarapa Pinot Noir 2010
By: The Creative Cooks

Course 8
Meat: Eye fillet and blue cheese on parsnip puree, with parsnip crisps and baked onions
Wine: Taylors Clare Valley Merlot 2010
By: Your Friendly Blogger and the MOTH

 Course 9
Fruit: Rhubarb fool
By: The Urban Gardeners
 
Course 10
Dessert: Rich chocolate on crème anglaise
Wine: D’Arenberg Noble Botryotinia F*ckeliana 2011
By: The Bean Counters


Thursday, 2 August 2012

When small is better

Think of a very small dish of something delicious placed in front of you.  It just invites savouring, taking small bites, lingering over every mouthful. 

When I dived back into cooking this year, I revisited old recipes as I dusted off techniques and remembered the tricks I’d learnt over 20 years ago.  A classic lemon soufflé was one of the first recipes I tried, followed by chocolate, then raspberry (if I’d found some gooseberries they would have been next).  The classic way of serving a cold soufflé is to tie a paper “collar” around the soufflé dish, fill to about an inch higher than the dish, and remove the “collar” just before serving.  However, I’ve found some small glass dishes, so I thought I’d try the next soufflé on the list as a very small dish of delicious dessert.
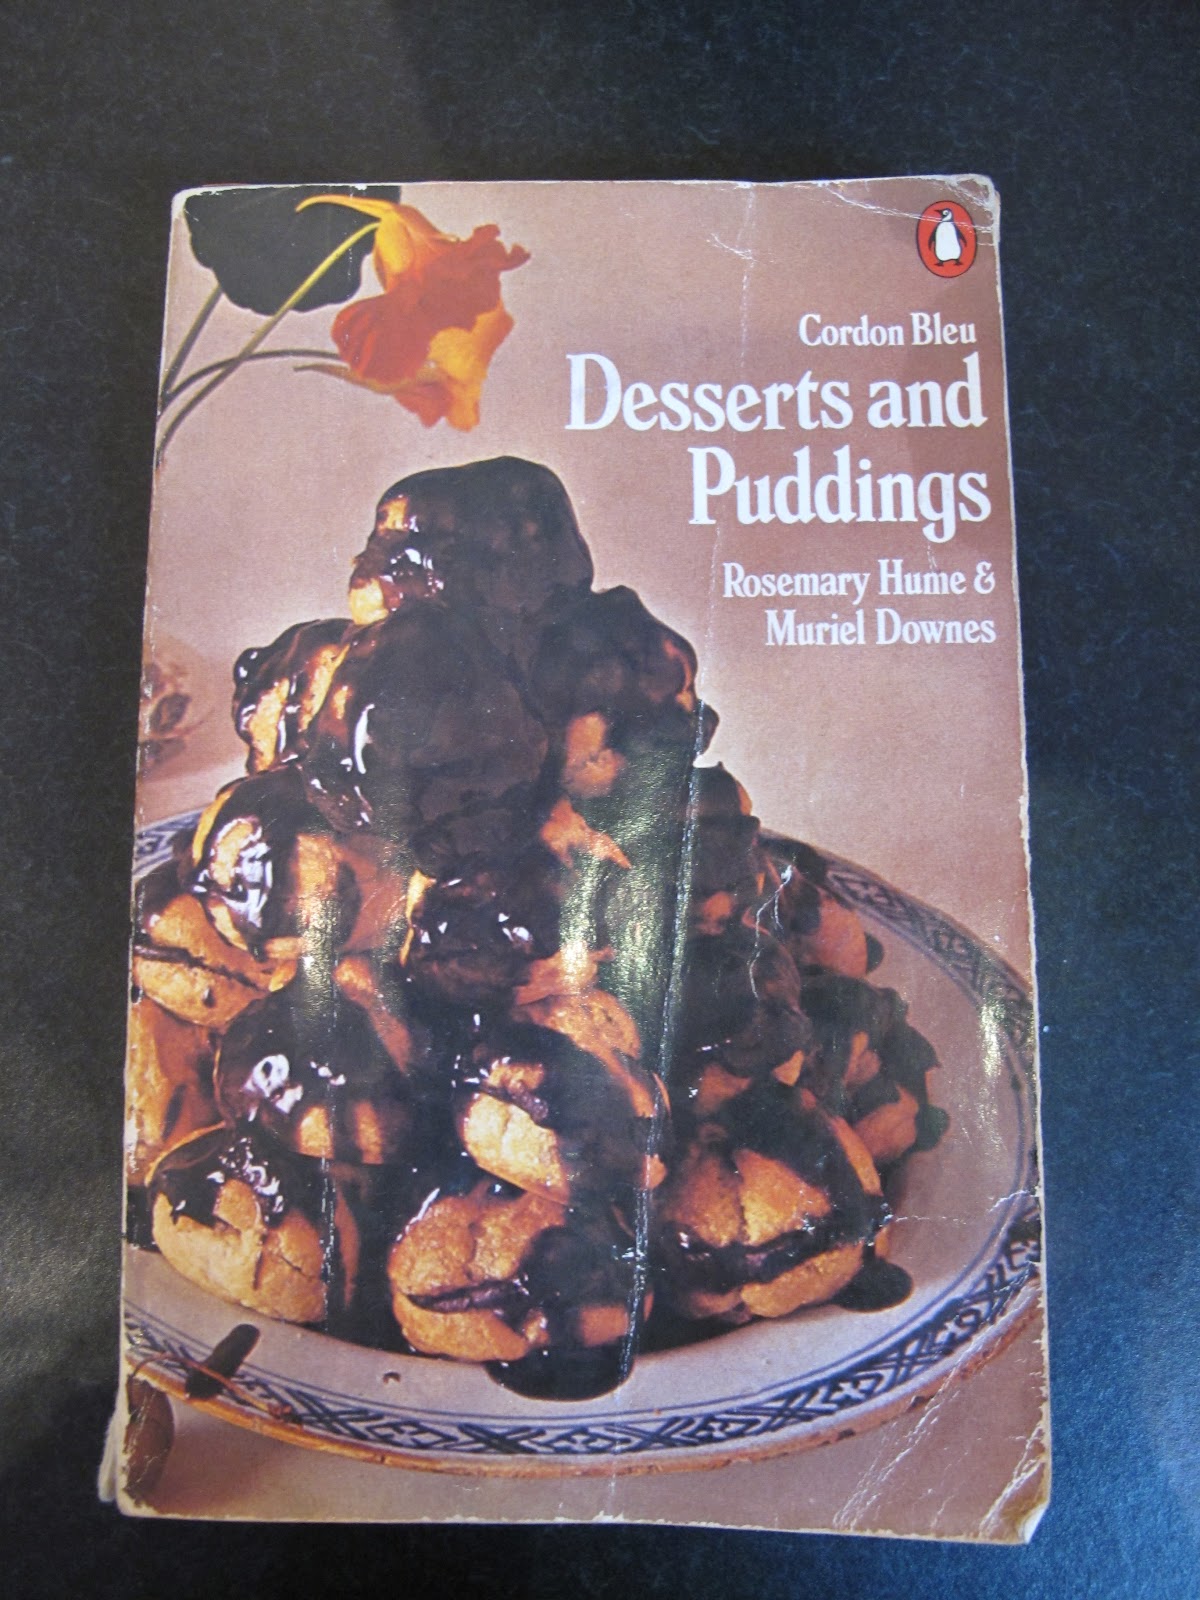
For a cold soufflé recipe, I can’t go past Cordon Bleu Desserts and Puddings – I’ve adapted their recipe here.

Cold Orange Soufflé
Serves 8-12, depending on the size of the serving bowls

3 large eggs
170g castor sugar
6 tbsp freshly squeezed orange justice
Finely grated rind of 2 oranges (make sure that you avoid the white part of the rind, as it is bitter)
300 ml cream
2 tsp powdered gelatine
Juice of 1 lemon, made up to 5 tbsp with water

Sprinkle the gelatine over the lemon/water mix and leave to swell (do this in a small heatproof dish).

Whisk* the egg yolks, sugar and orange rind at high speed until thick and mousse-like.  To really get the maximum amount of air in this step, you can do this over a pan of simmering water – but make sure that your bowl doesn’t touch the water, or you’ll end up with sweet scrambled eggs. 
Once they are lovely and thick, place the bowl on the bench, add the orange juice, and keep whisking until the bowl is cool.  The mixture will thin out quite a bit when you add the juice, but just keep on whisking!
*In case you think I’m mad, I should really say “whisk with electric handheld beater”, but you can use an actual whisk if you prefer.
Place the gelatine dish into a pot of water (the water in the pot should come about halfway up the gelatine dish), and heat gently until the spongy gelatine dissolves.  Set aside to cool for up to 5 minutes – you don’t want it to reset, but it is better to be warm, rather than hot, when you add it to the other ingredients.
Half whip the cream – so that it just holds its shape, but is not stiff – it should be the same consistency as your egg yolk mixture.  Fold together.  Gently stir the liquid gelatine mixture through the mixture.
Whisk the egg whites until they are stiff but not dry.  I use a copper bowl for whisking egg whites, as they hold more air, but an ordinary bowl will be fine.  Whatever you use, make sure both the bowl and whisk are spotlessly clean, otherwise the egg whites will refuse to whisk up nicely.  Place the bowl of soufflé mixture into a sink of ice/water (to assist with rapid cooling/setting) and mix in a good spoonful of the egg whites (this will loosen up the mixture so that you can gently fold in the remainder without losing all the air you’ve just been beating in to them).  Fold in the remaining egg whites.  Slowly stir the mixture once or twice a minute, until it is thickening.  Turn into the bowl or bowls and refrigerate until set.
You could add a blob of whipped cream and some finely chopped pistachios for a bit of colour when serving.  But it tastes great on its own, in a small dish with a small spoon.  A nice dessert wine (even if it does have a rather provocative name) will round out the evening nicely.


A roasted flattened chook

Several years ago, I was introduced to the concept of a flattened chook by the recipe books of Donna Hay.  Donna also provided the entirely sensible suggestion of putting some baking paper under the flattened chook before cooking, which makes the cleaning up part of the day MUCH quicker.  So here’s my version of a flattened chook – which finds its way into the oven almost every week.  The advantages over a traditional roast chicken are that it cooks faster, the breast doesn’t dry out, and it just tastes great!

Roast Flattened Chook
Serves 4-6 – in our house, that means it serves 4 for dinner, with enough leftover to provide the basis for another dinner for 2 of us.

1 chicken
1-2 lemons
About ½ a head of garlic
Handful each of fresh thyme and oregano
Olive oil
Salt and pepper

Pre-heat the oven to 180-200 C.
First of all, line a flat roasting dish with baking paper.  Chop one lemon into quarters, separate the cloves of garlic (don’t worry about peeling), and pile them all into a rough bed for the chicken to lie on.  Sprinkle with salt, pepper and olive oil.
Place your chicken breast side down on your bench, with the backbone closest to you.  Using sturdy kitchen scissors, chop through the bones along one side of the backbone. 
Pull the cut sides apart and flatten the chicken out – it won’t be perfectly flat.  Turn over, place on top of the prepared bed of herbs etc, and gently flatten with your hands.
Wash your hands and then sprinkle with olive oil, salt and pepper, some thyme leaves, and cover with slices of lemon.  Roast potatoes can also be added – as long as they are small enough to cook in 40-50 minutes.
If you’re feeding a slightly larger than usual army, then the quantities can be doubled and stacked in the oven.
Bake for 40-50 minutes – I usually rotate the dish halfway through.  Once the chicken is cooked, leave to rest for 5-10 minutes before carving.

The juices are delicious - scoop the potatoes into a serving dish and then drain the juices.  They can be poured straight over the chicken once carved, or kept for stock.